

How to Change Violin Strings: A Step-by-Step Guide for Beginners
/It’s time to change your violin strings! Many beginners may think changing your violin strings is an intimidating process, but don’t worry, I’ll walk you through it so you can confidently change your violin strings on your own. Whether you're a beginner tackling this for the first time or just want a reliable reference, this guide walks you through everything you need to know about changing violin strings safely and correctly.
I also have a separate video answering all your questions about purchasing violin strings and knowing when it's time to change them — check the links below! I also have a free downloadable checklist with easy-to-follow steps you can mark off as you go. Grab that below too.
What You'll Need Before You Start Changing Violin Strings
Before you remove a single violin string, gather everything first so you're not hunting for supplies mid-process:
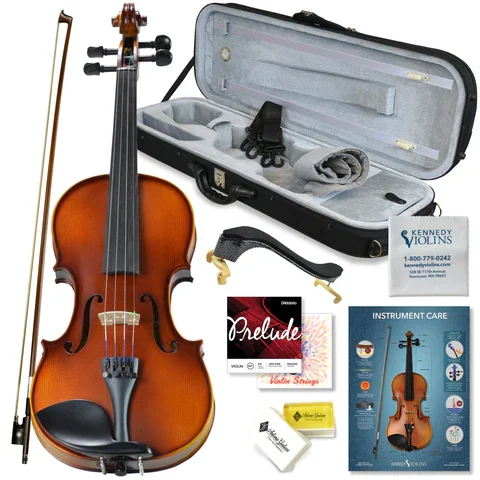
A new set of violin strings — open the package and confirm you have all four (G, D, A, E) before you begin
A pencil (mechanical or regular — either works)
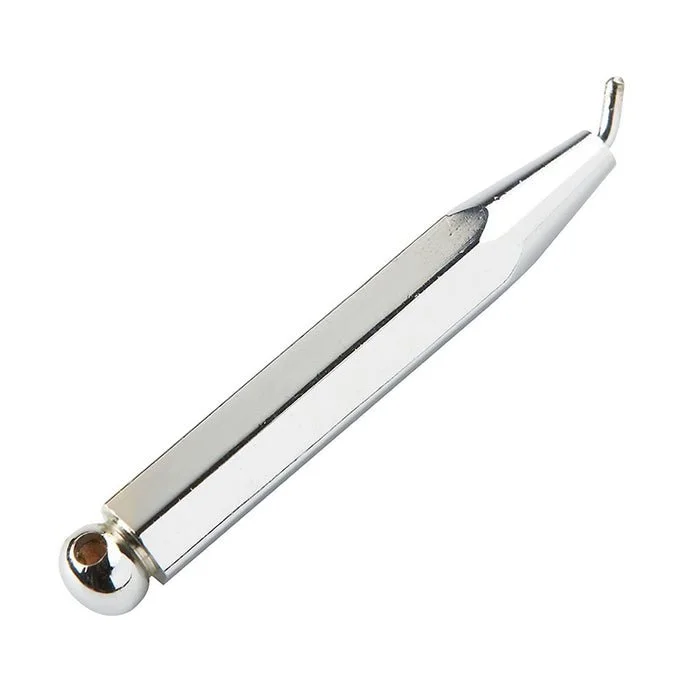
Tweezers — a just-in-case tool that can save you a headache
A soft cleaning cloth
A tuner — clip-on, app, or whatever you prefer
(Optional but highly recommended) A cup of tea :)
Before You Remove Anything: Look First
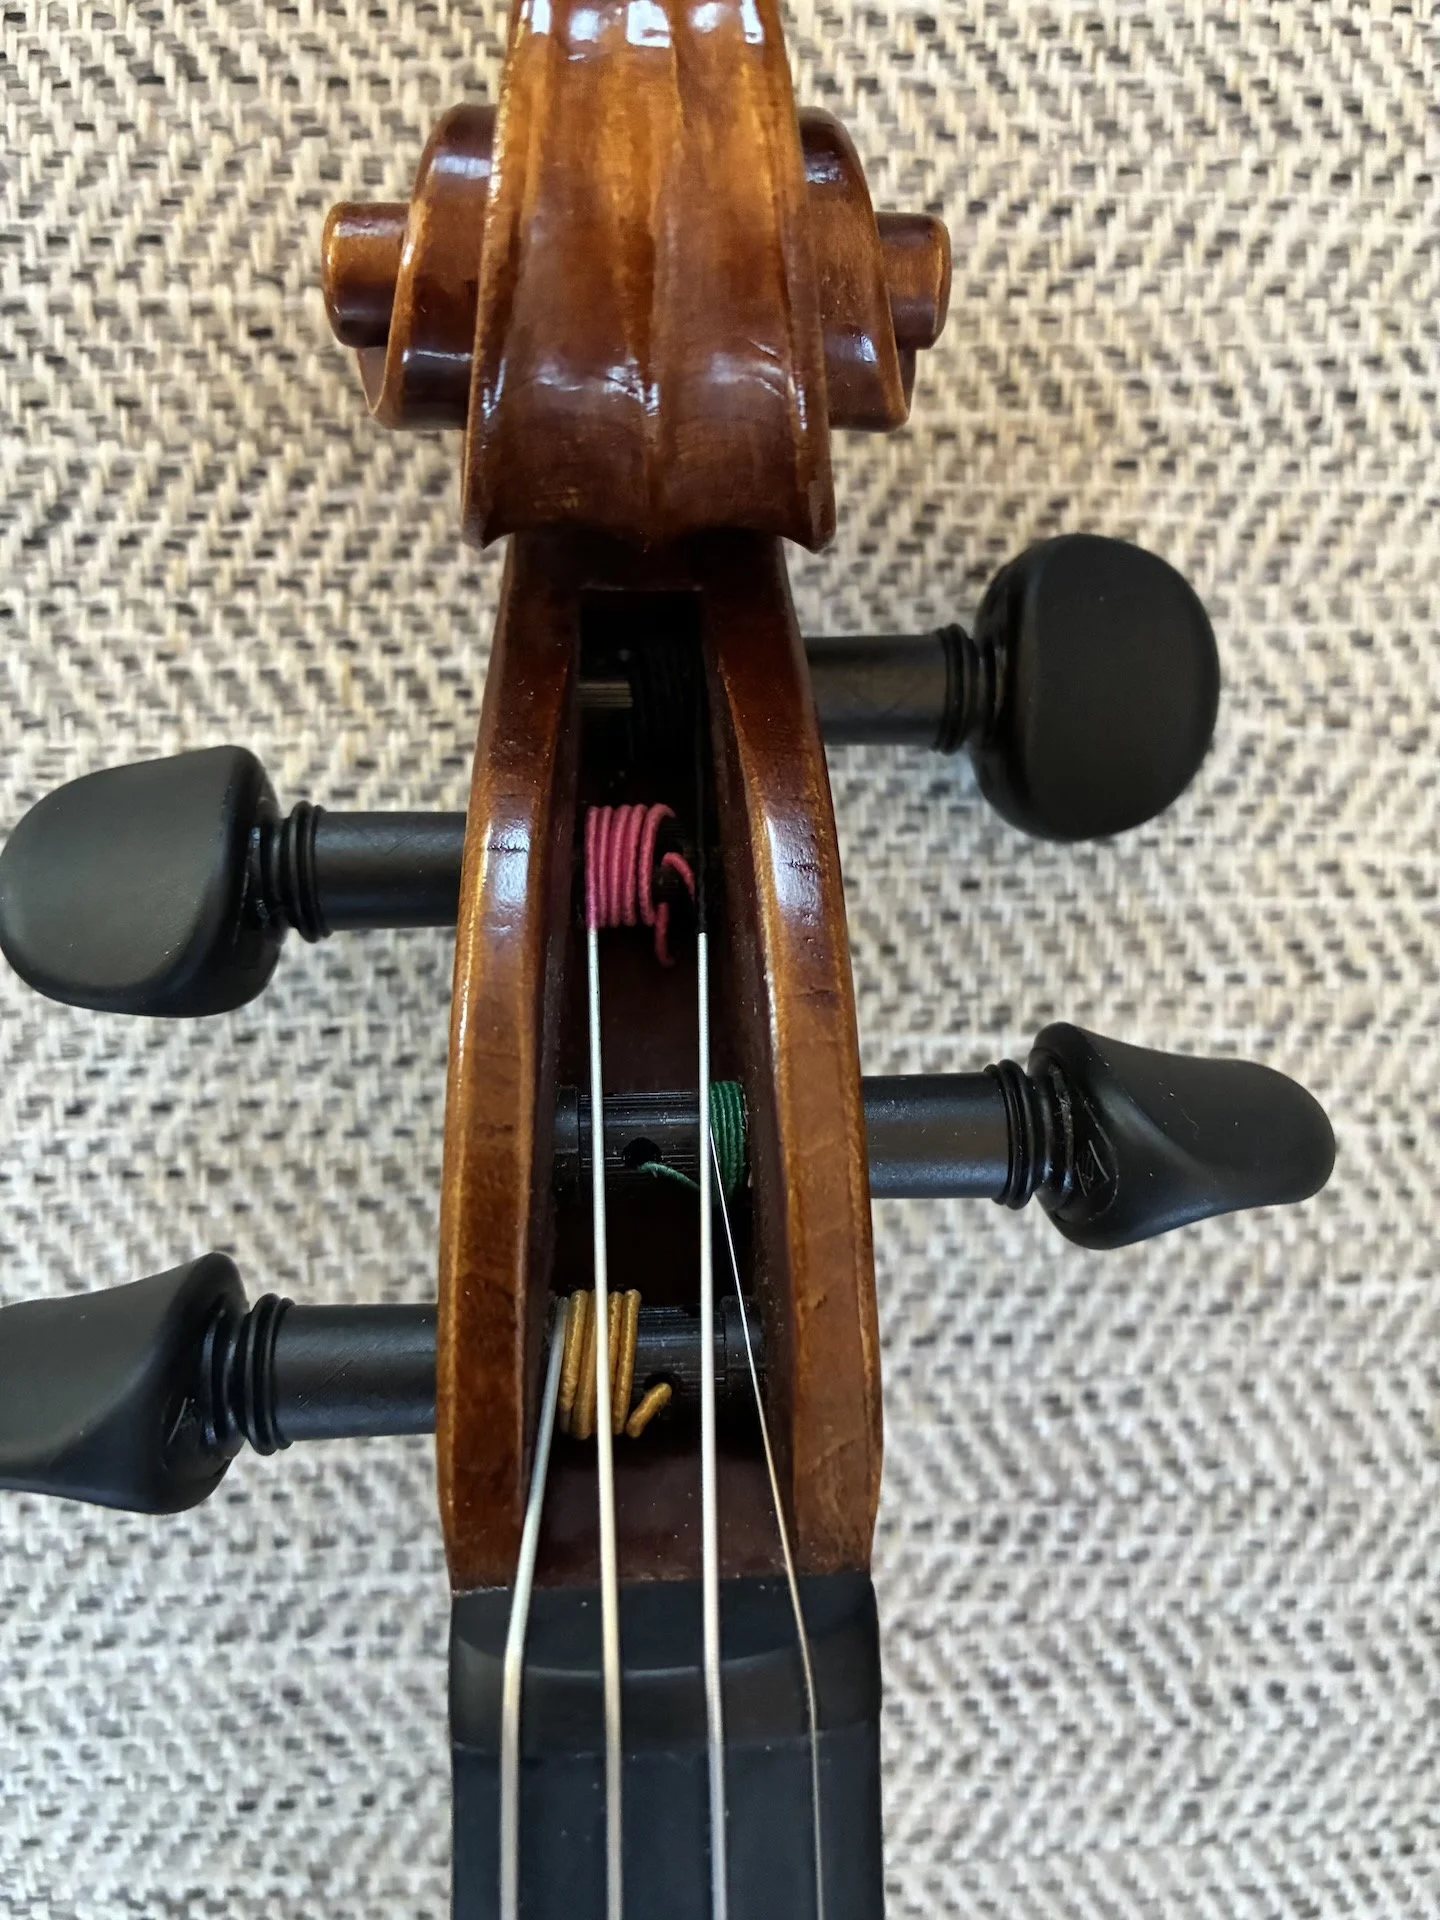
Take a moment to look at your pegbox and observe how the strings are currently wound. Notice the direction, how they layer, and how they attach. If you're unsure you'll remember it all, take a photo — it's a helpful reference as you work.
The Golden Rule: Change One String at a Time
This is the most important thing to remember when restringing a violin: remove one string, replace it, then move to the next. Never take all the strings off at once. Removing all the strings at the same time releases the tension on the bridge and soundpost, which can cause them to fall or shift.
Step 1: Start with the D String
The D string is the easiest to access, so start there. The recommended order for all four strings is: D → G → A → E.
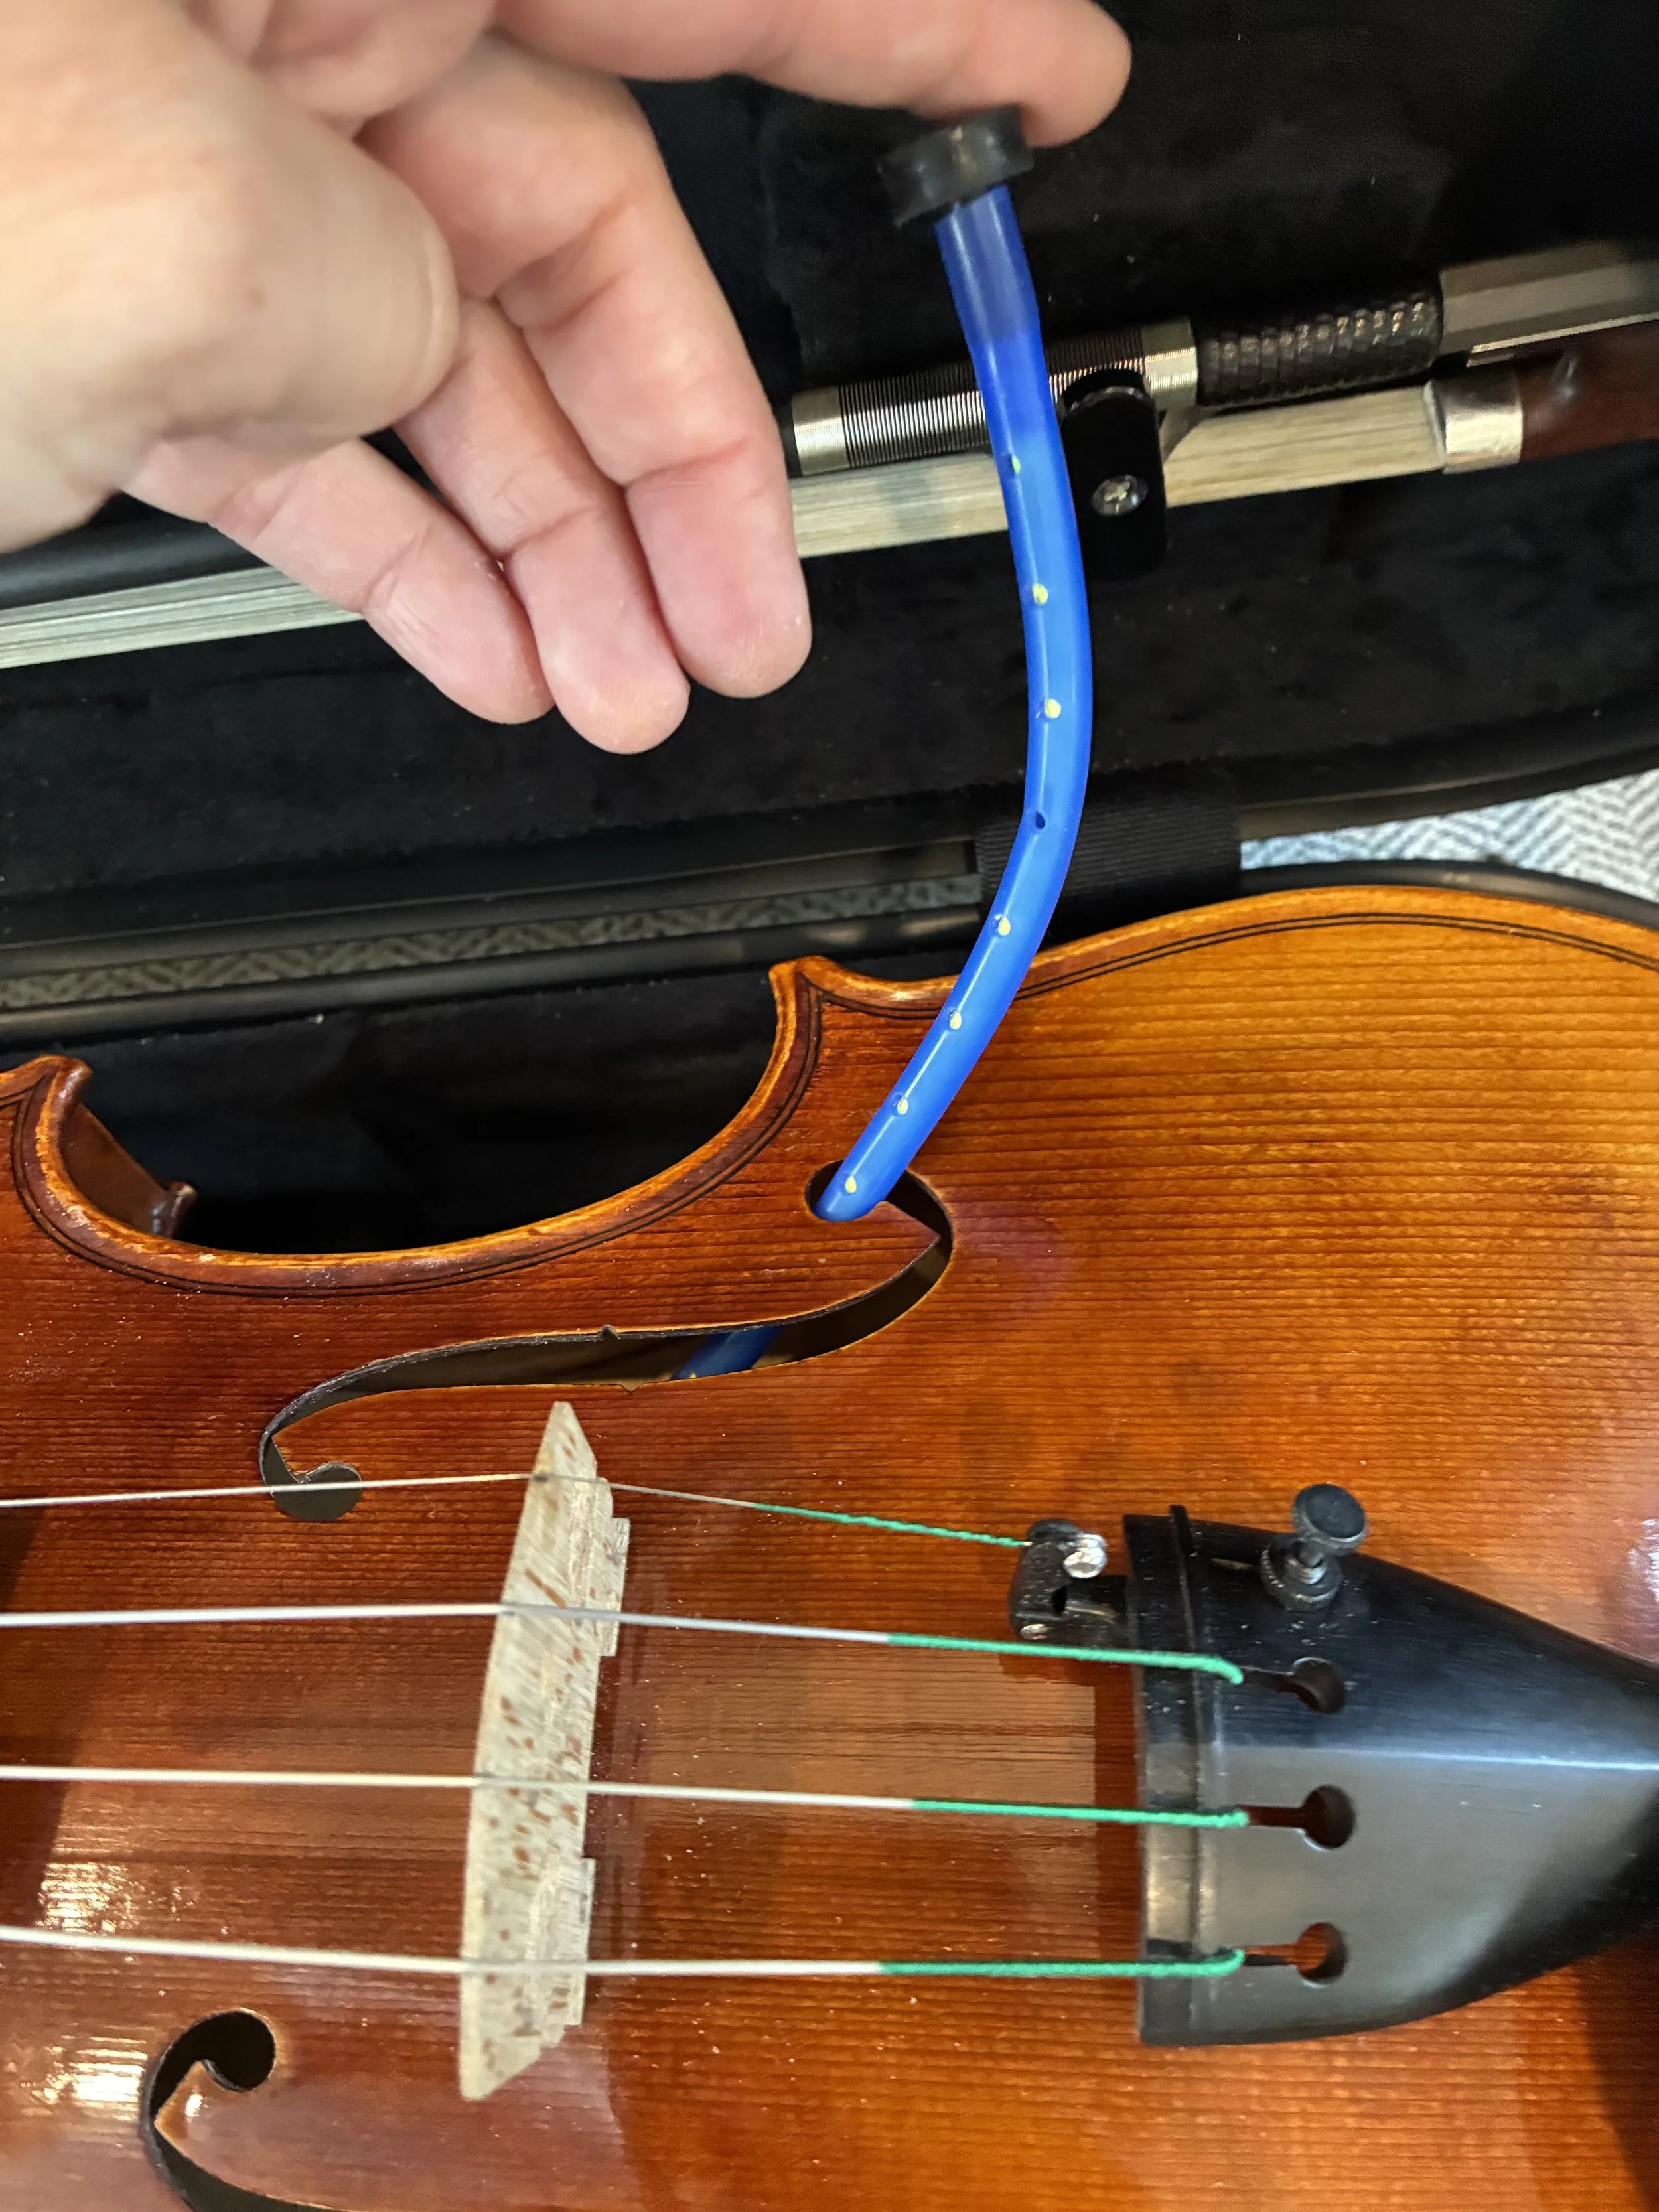
To unwind the old string, turn the peg toward you to loosen it. Keep the string attached to the tailpiece as long as possible — this prevents the ball end from flopping around and potentially dinging your instrument. Once the string is fully loose, pull it out of the peghole, then unhook it from the tailpiece.
Save your old strings. If a string is still in good condition (winding intact, no fraying), wrap it up and label it with the date and brand. It's a great backup in a pinch.
Step 2: Clean While You Have the Chance
With one string off, you have a bit more room to work. Take your cleaning cloth and gently clean the area that's normally under that string — it's one of the harder spots to reach during regular maintenance.
Step 3: The Pencil Trick (Don't Skip This!)
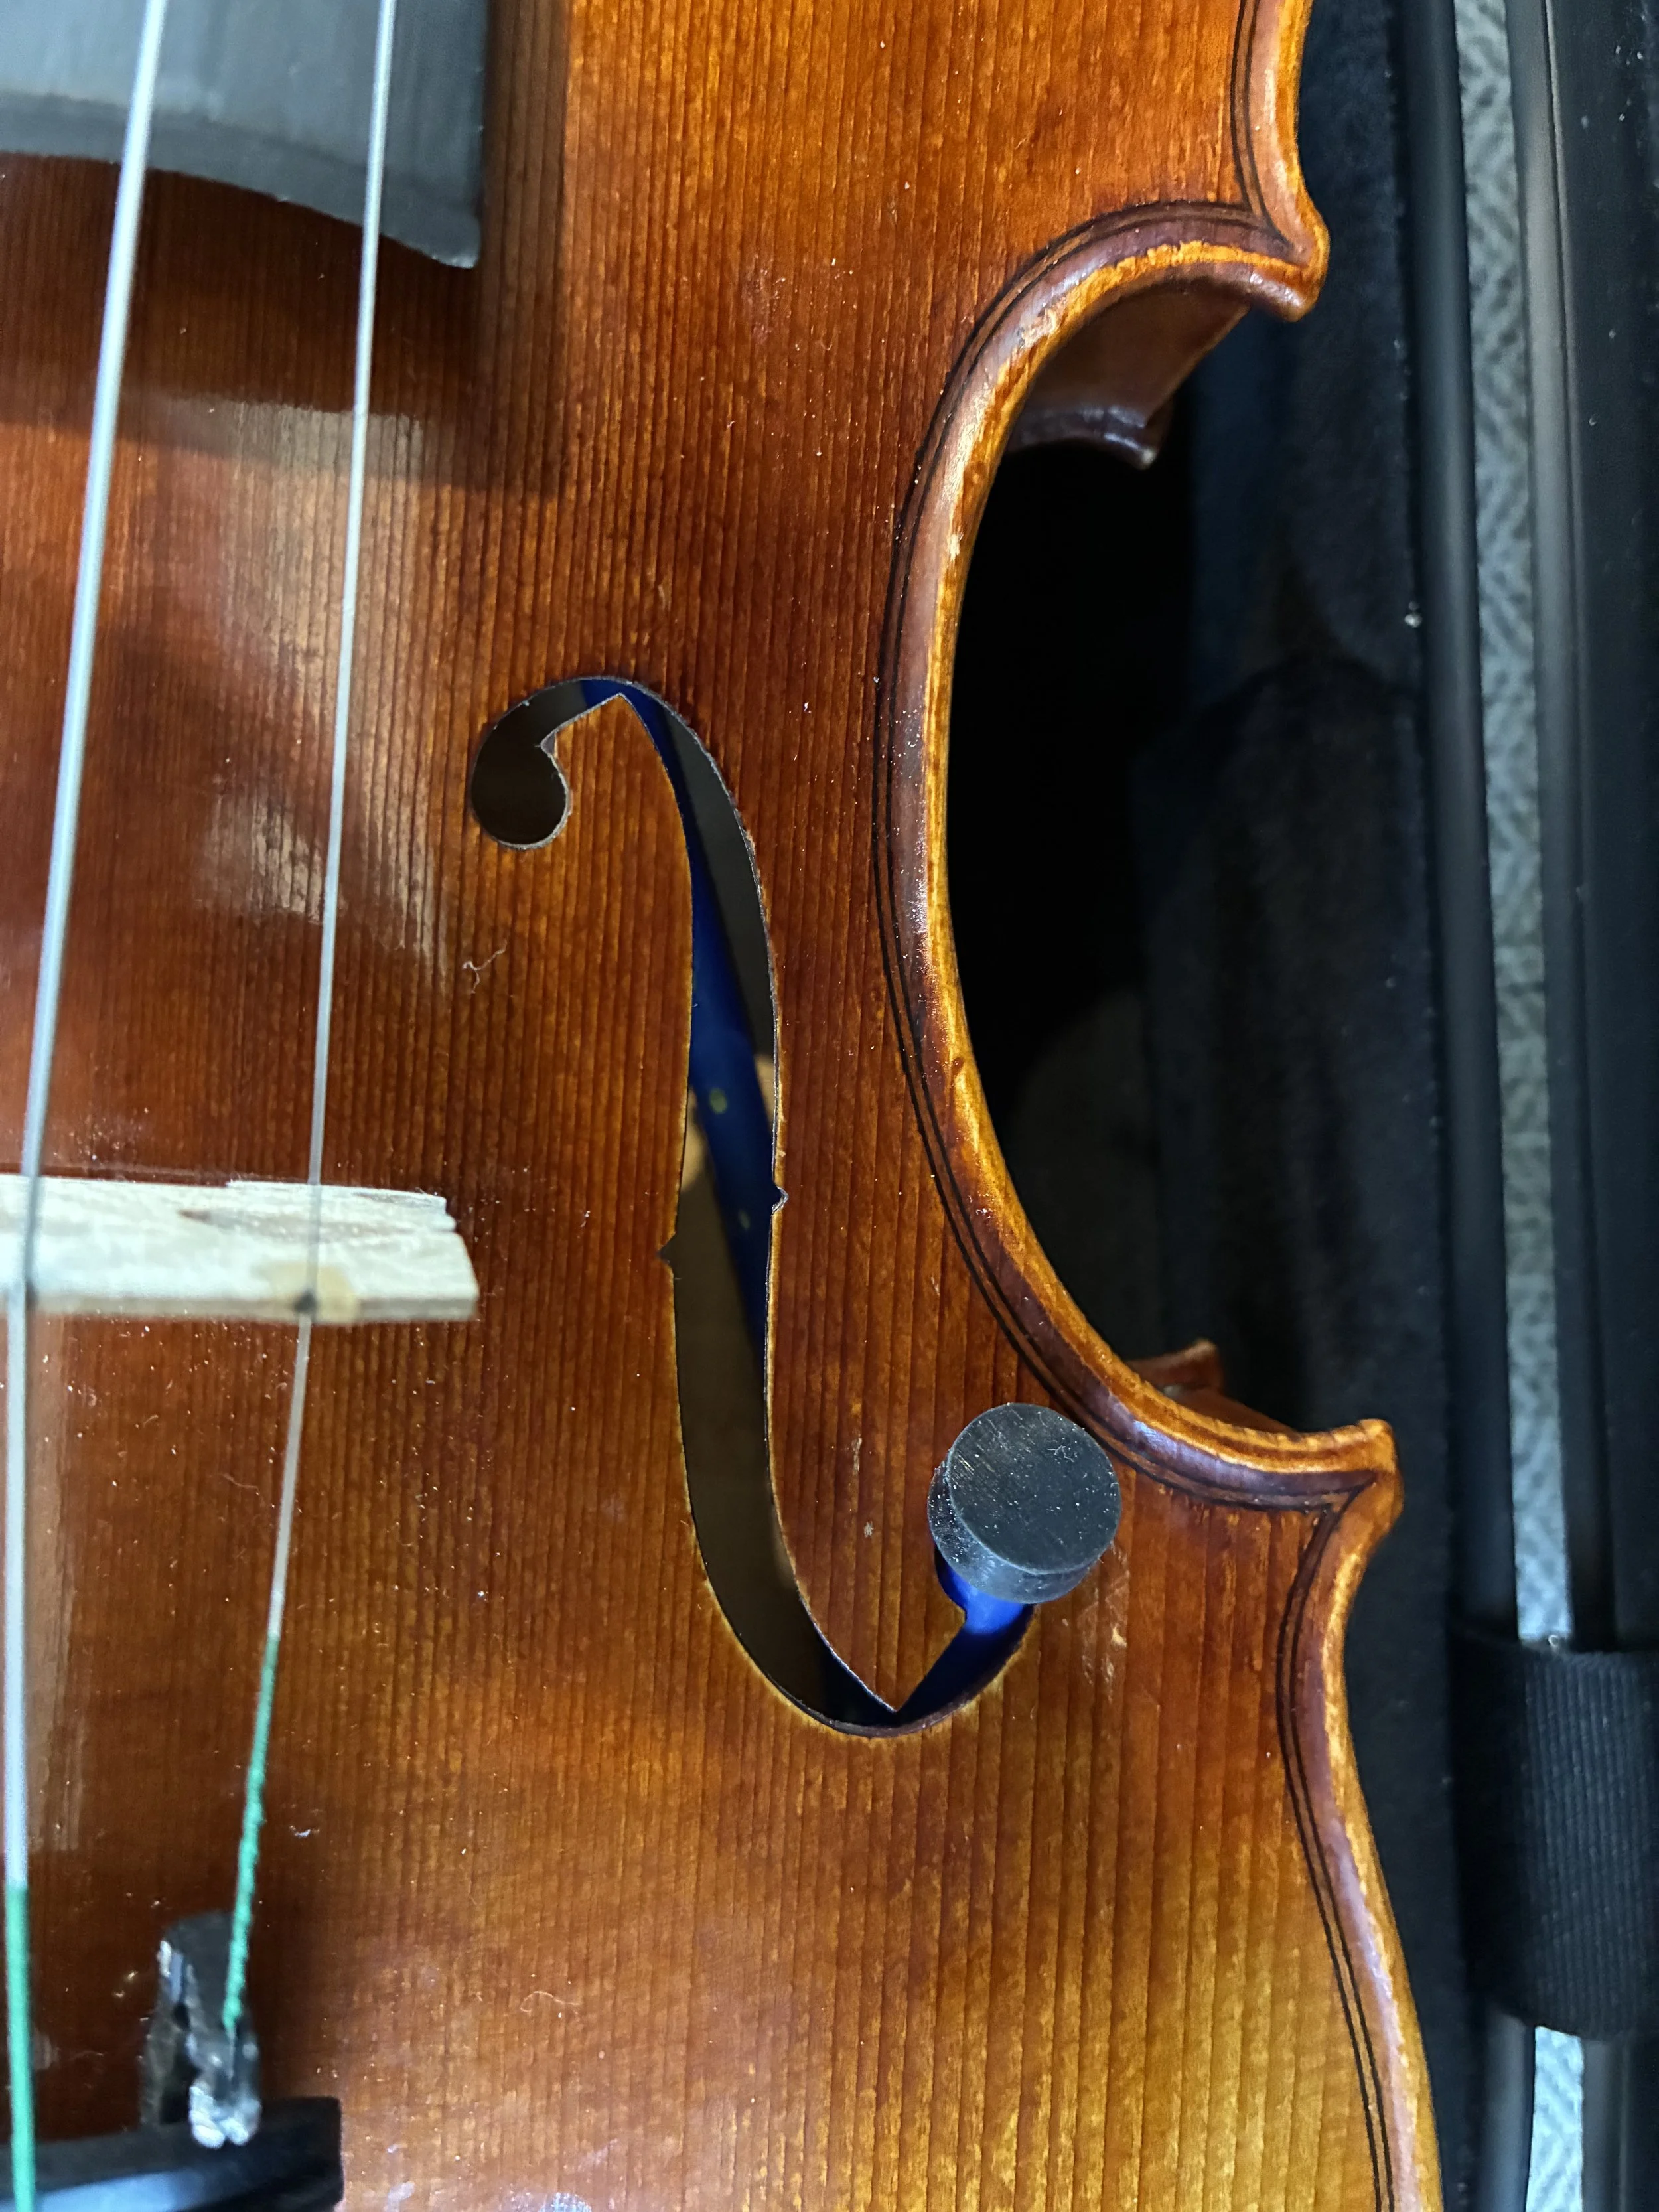
Before you put the new string on, take your pencil and very gently color the notch on the bridge where that string sits. The graphite acts as a lubricant, helping the string glide smoothly rather than catching and sticking as it's tuned.
Step 4: Attach the New String to the Tailpiece
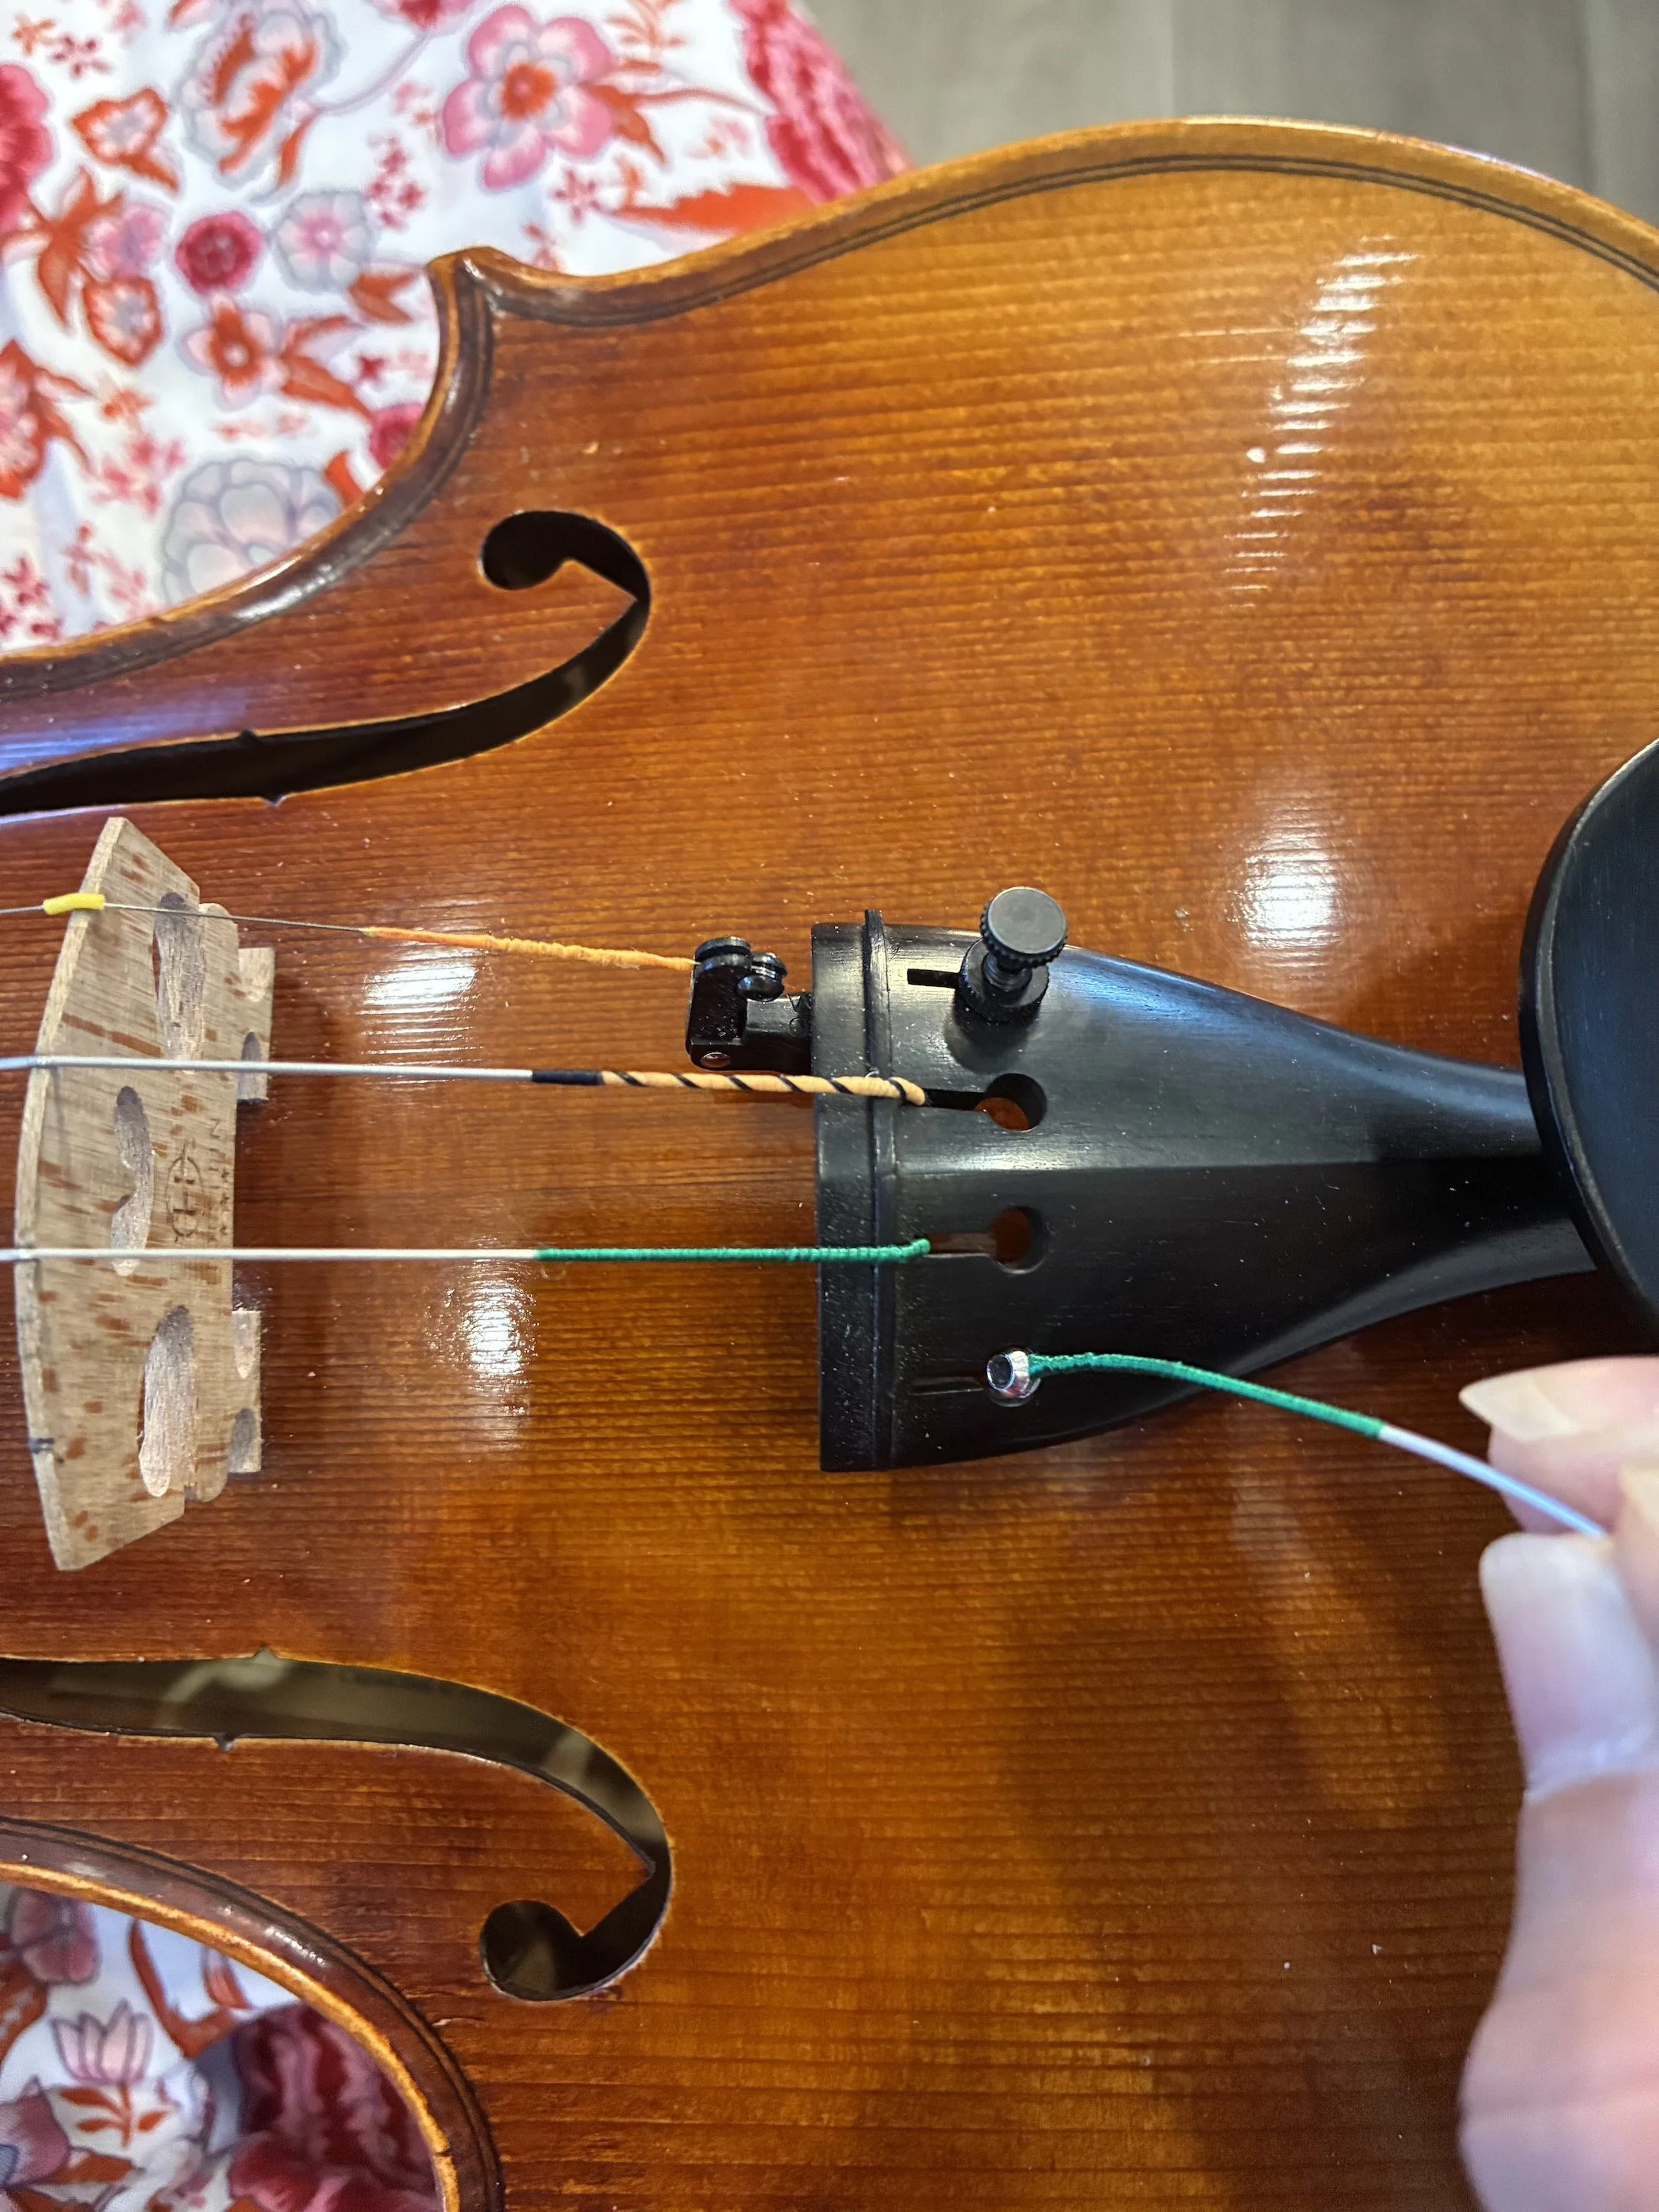
Make sure you're grabbing the correct string — check that it's labeled correctly and looks like the right gauge.
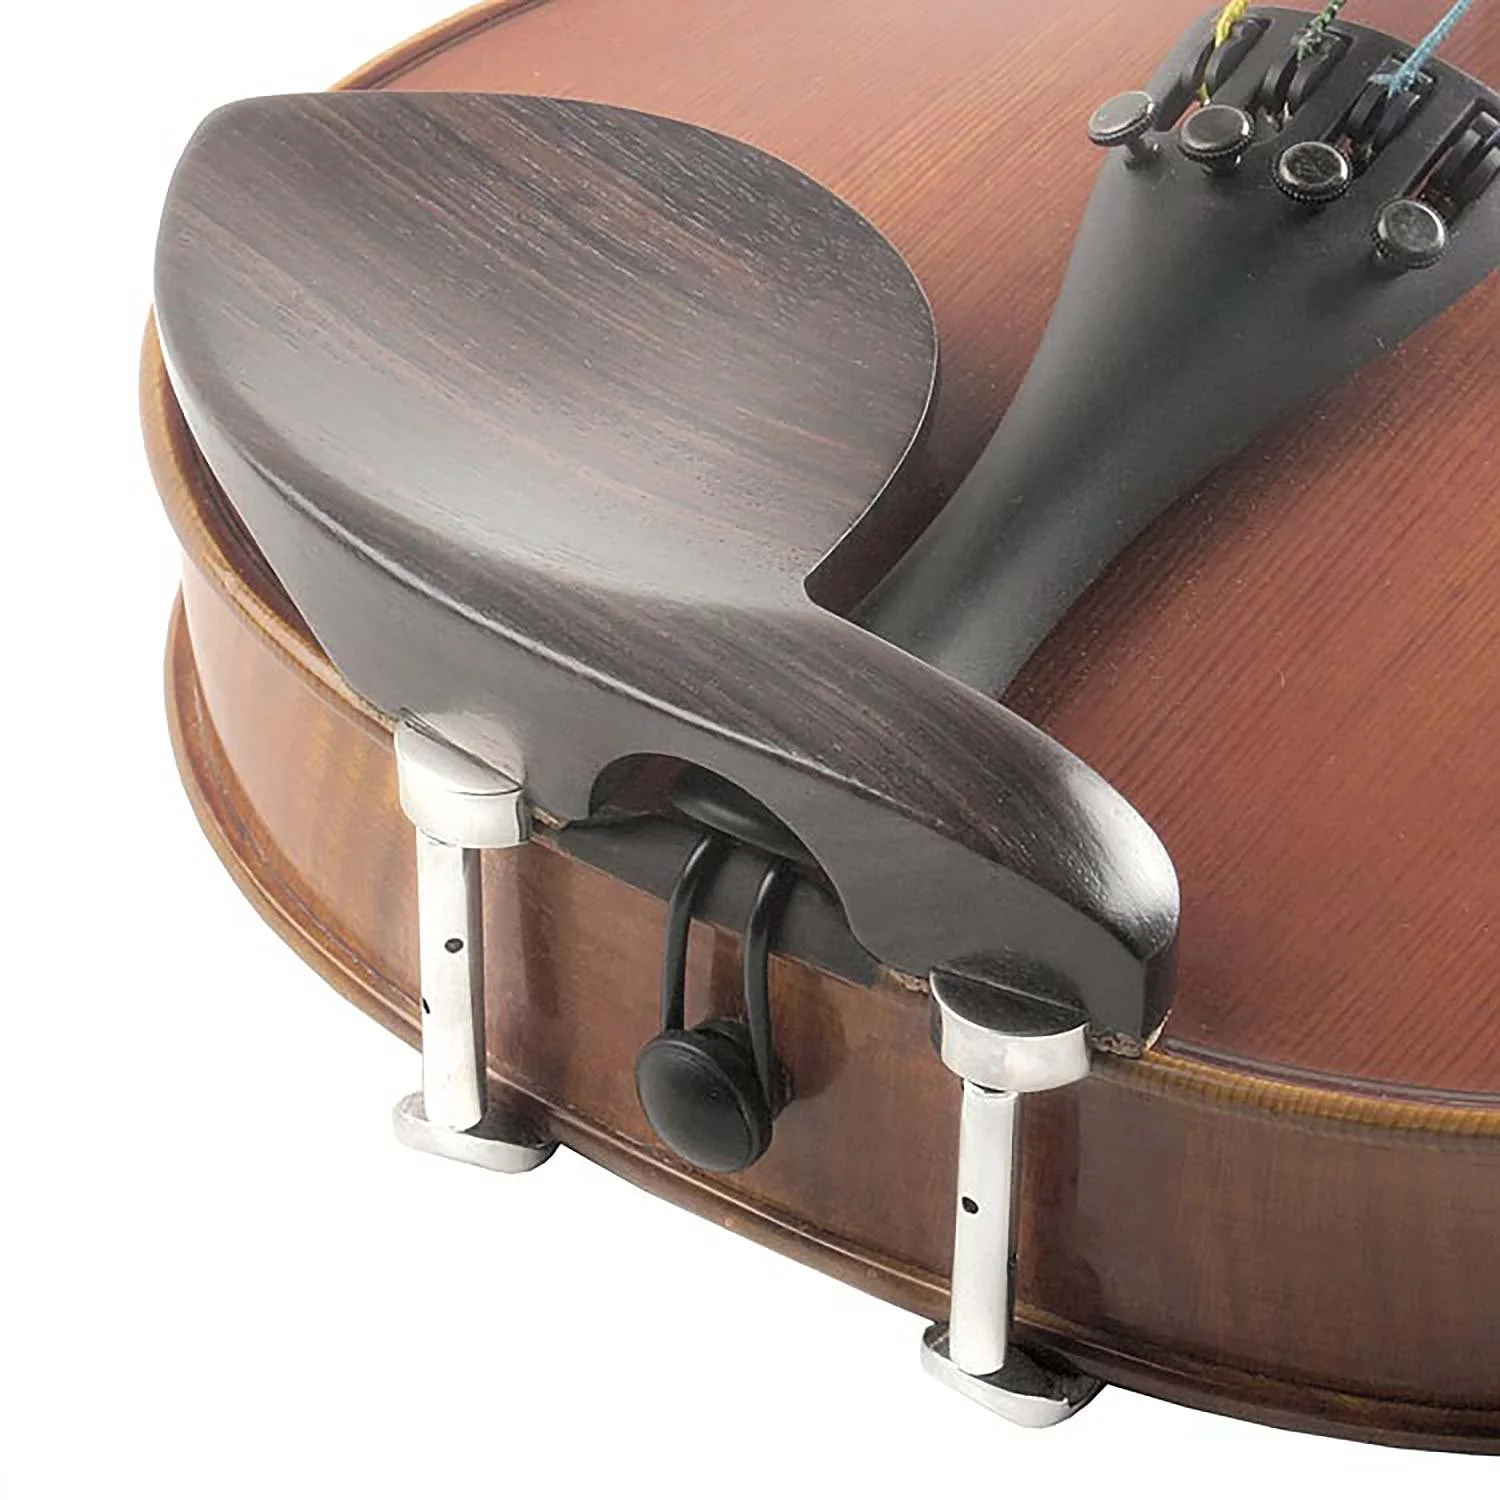
Without fine tuners: Insert the ball end into the hole and pull the string up into the slot to secure it. With fine tuners: Wedge the string just above the ball end between the little forks of the fine tuner. E string special note: The E string may come with a ball end or a loop. If it's a loop, hook it around the small hook on the fine tuner. Also make sure the little plastic sleeve protector is slid up over the bridge notch — this prevents the thin E string from cutting into the bridge.
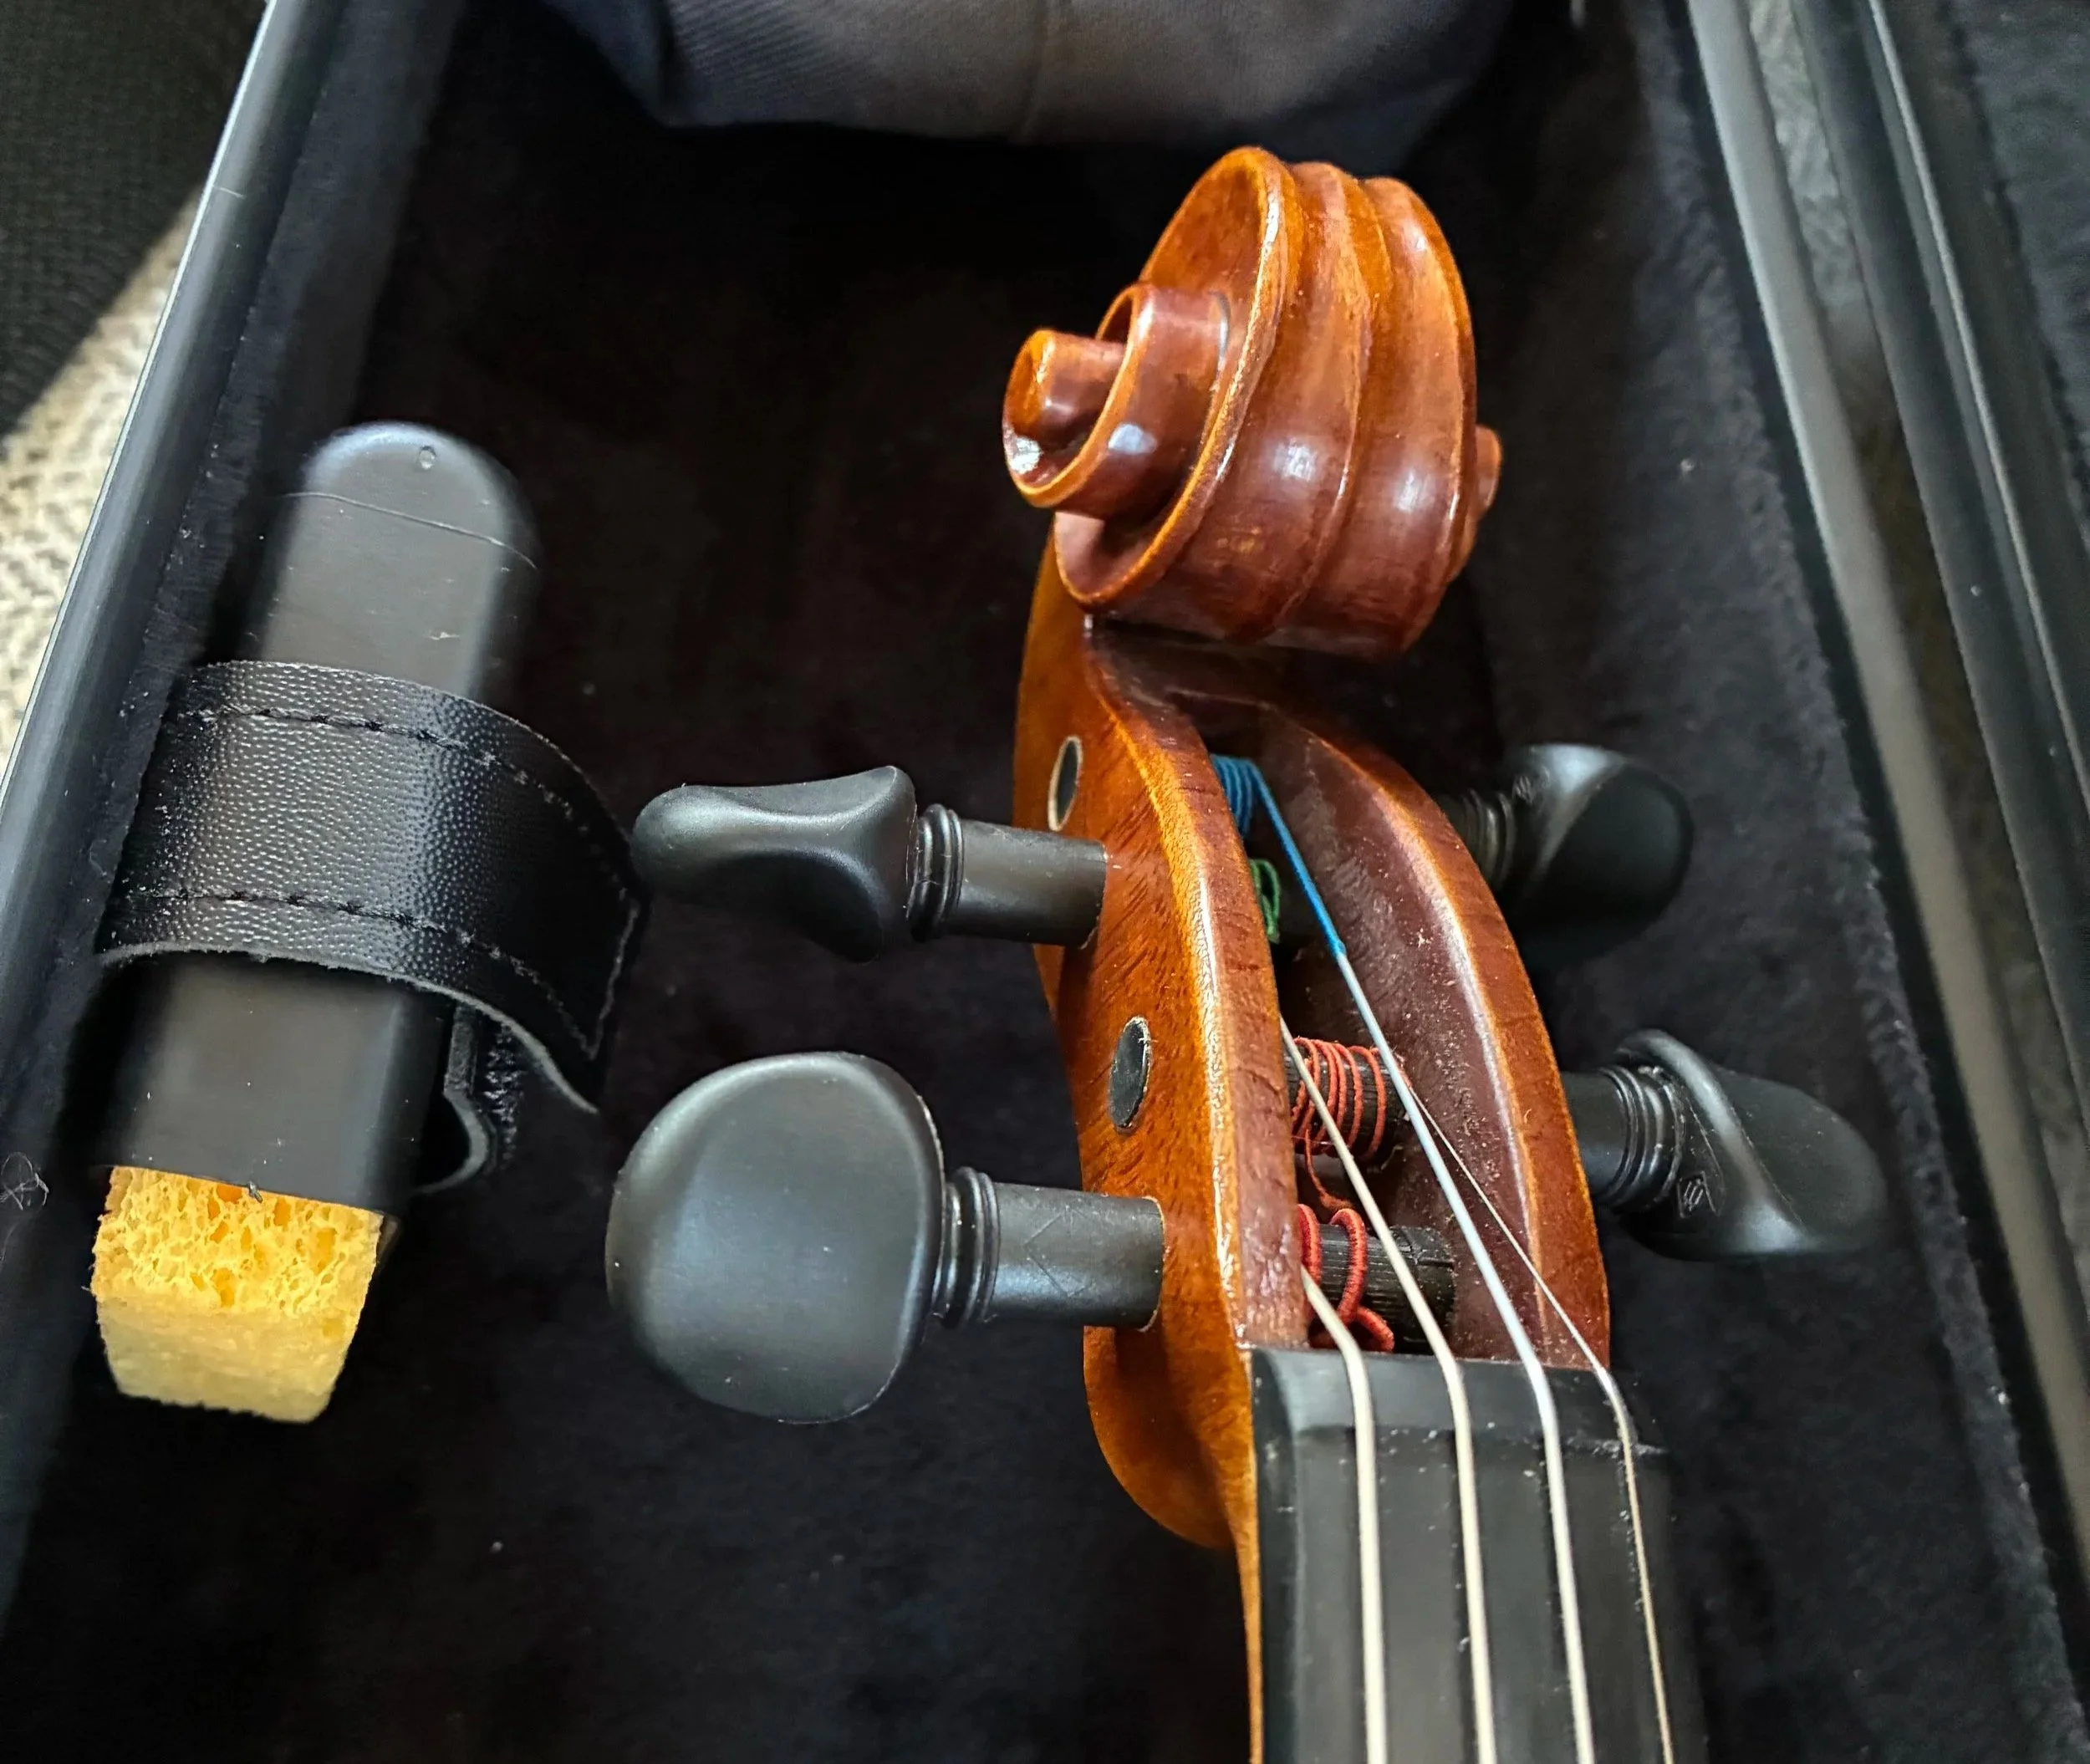
Step 5: Winding the String onto the Peg
This is the trickiest part for most people, especially beginners. Take it slowly.
First, rotate the peg so the hole is roughly vertical (straight up and down). This makes it much easier to thread the string straight through. Then push the string through the hole so that about a half inch sticks out the other side. This is important — if you barely thread it through, the string will likely pull out as tension builds, and you'll have to start over with a now-curled string end. That's what the tweezers are for, if it happens.
Winding direction: G and D strings wind toward the left side of the pegbox. A and E strings wind toward the right.
Tips for keeping the winding straight: Hold the string in place with your free hand the entire time you're winding — do not let go, or the string will unwind and you'll have to start over. For the D string, place your first winding to the right of the hole, then crisscross over to the left so the tail end gets locked under the windings. For the G string, just wind consistently to the left of each previous winding — it will gradually work itself toward the hole on its own. Also make sure the G string goes under the D string, not over it.
If your winding ends up crisscrossed, don't stress — especially your first time. Only rewind if the pegs are actually slipping. Otherwise, it's fine.
Step 6: Tune the String
As you wind, guide the string into its notch on both the bridge and the nut. Bring the string up to pitch, but don't tune it sharp thinking it will settle back down. Strings settle at whatever pitch they've been tuned to most — you want them to settle happily at the correct pitch.
E string caution: The E string is the thinnest and easiest to snap. Go slowly. If you're unsure where you are pitch-wise, tune down, figure out where you are, and work your way up carefully.
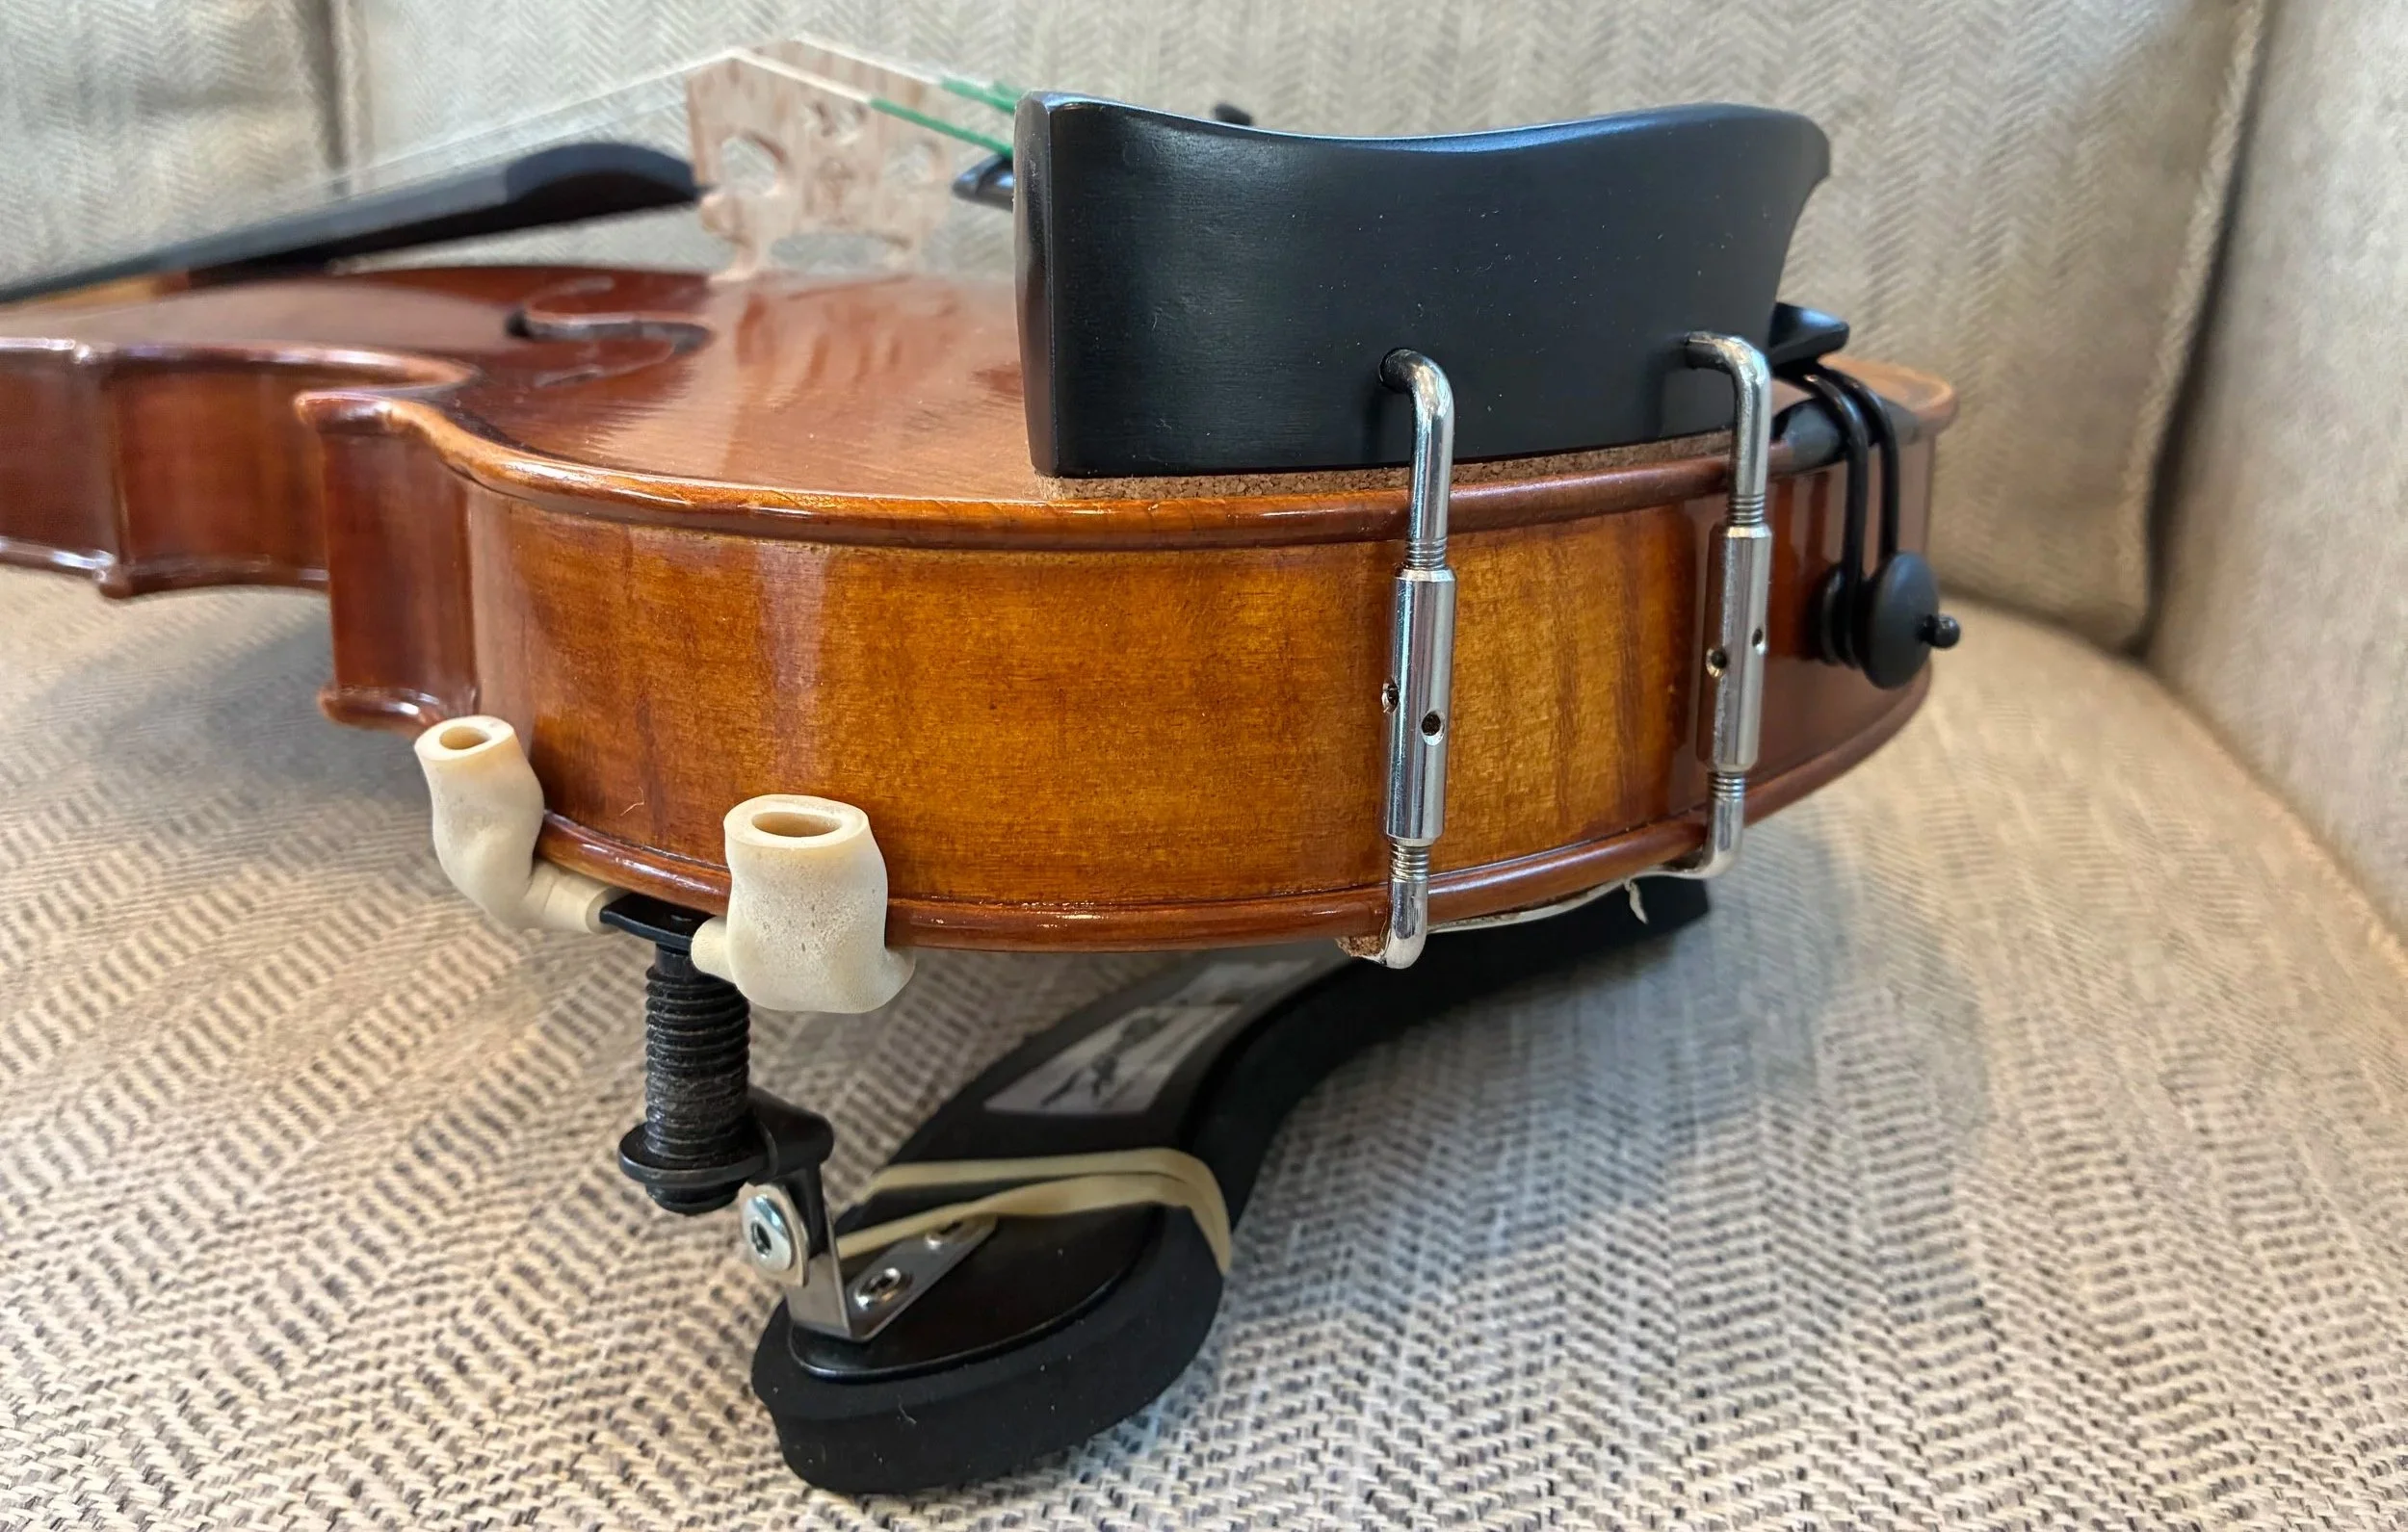
Step 7: Check and Straighten the Bridge

Every time you change a string, the tension pulls the bridge slightly toward the pegbox. After each string — and definitely after all four are done — check that your bridge is still straight.
To check, hold the violin in front of you and close one eye. Look at the profile of the bridge, specifically the side facing the tailpiece, and see if it's leaning.
To straighten it, set the violin in your lap and place both thumbs on the side of the bridge closest to you — these are just for light bracing, don't push. Place your index fingers between the strings on the front face of the bridge (left finger between G and D, right finger between A and E) and gently nudge the top of the bridge back toward you until it looks straight.
What to Expect in the First Week
New strings need time to settle, and a few things are completely normal. You'll need to tune frequently — strings will go flat often the first few days as they stretch. Pick up the violin throughout the day and tune it, even if you're not playing. The more you tune, the faster they settle.
New strings also often sound a little bright and metallic at first. After a few days of playing, the tone will warm up and fill out. Keep an eye on the bridge for the first week and straighten it as needed.
While changing your violin strings may seem intimidating, hopefully this helps you realize it’s not that bad!
Happy practicing and happy string-changing!


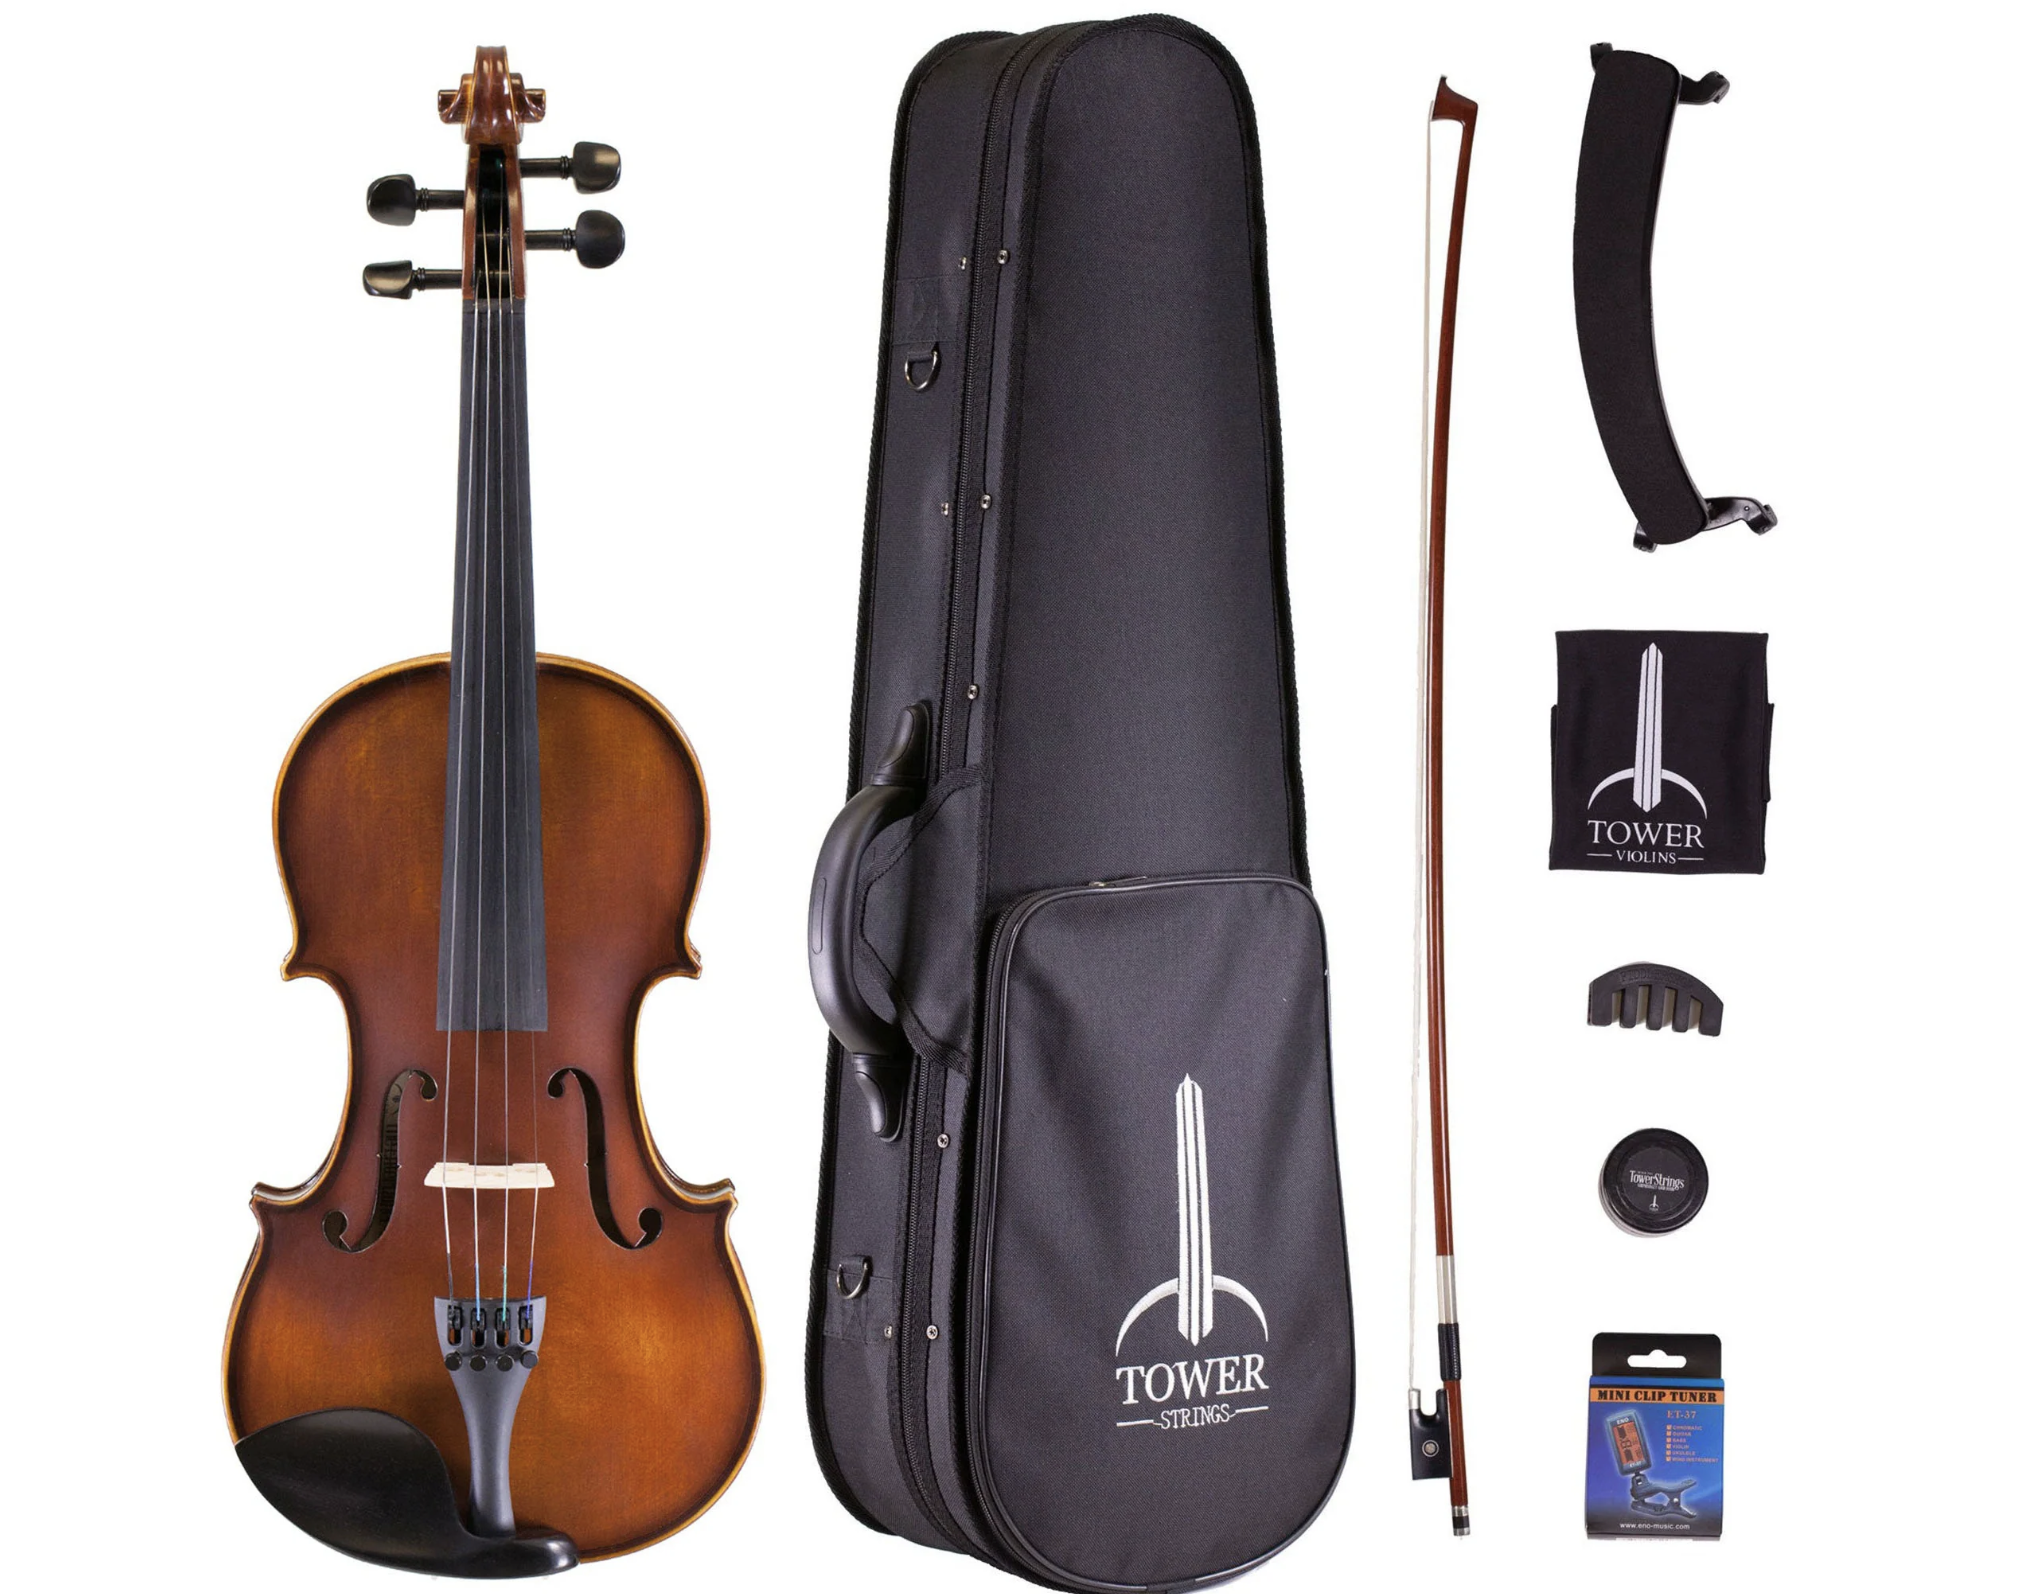


![10 Best Violins for Beginners: A Violin Teacher’s Ultimate Guide [2026]](https://images.squarespace-cdn.com/content/v1/554545e3e4b0325625f33fa6/1600433065588-JQV56M1W9LNI833AVGEE/10+best+violins+for+beginners+2020.jpg)